

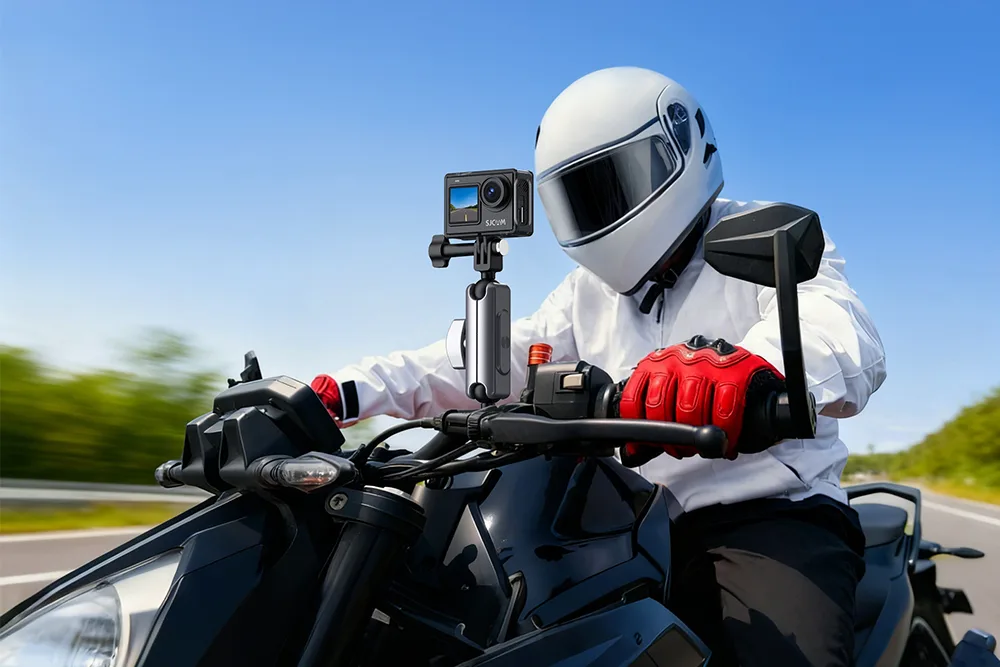

Shaky footage ruins even the most epic ride. Whether you’re filming a canyon carve, a track day, or a simple commute, smooth video is the difference between footage people watch and footage they scroll past. The good news is that modern motorcycle action cameras are remarkably capable—but they only deliver smooth results when they’re set up correctly. This guide walks through the settings, mounts, and techniques that turn jittery clips into professional-looking ride videos.
Why Motorcycle Footage Gets Shaky
Before fixing the problem, understand it. Motorcycles generate vibration from three main sources: the engine, the road surface, and wind buffeting at speed. Each affects footage differently. Engine vibration is high-frequency buzz that can blur fine details. Road bumps cause sharp jolts. Wind creates constant micro-movement at the camera. A camera bolted directly to a rigid surface amplifies all three.
The solution is a combination of hardware and software: use mounts that absorb vibration, position the camera where movement is minimized, and let the camera’s stabilization handle the rest.
Step 1: Choose the Right Mounting Point
Mount location matters as much as any camera setting. Here’s how common positions perform:
- Helmet (chin or side): Captures the rider’s perspective and absorbs some body movement through the helmet. Chin mounts are stable and immersive. Avoid top-of-helmet mounts at high speed—they catch wind and create drag.
- Handlebar or fairing: Shows the road and dash but transmits engine and road vibration directly. Requires vibration-damping mounts.
- Chest mount: Stabilized by your torso but moves with body lean. Good for a natural riding view.
- Tank or crash bar: Low and dramatic angles, but extremely vibration-prone. Use only with strong stabilization and dampers.
Pro tip: Mount the camera on a soft, mass-heavy part of the bike rather than a rigid, lightweight panel. Rubber dampers, silicone mounts, or foam pads between the mount and the surface can dramatically reduce high-frequency vibration. For handlebar mounts, a vibration isolator is almost essential.
Step 2: Enable the Best Stabilization Mode
Every modern motorcycle action camera offers electronic or gimbal-like stabilization. Turn it on—always. But choose the right mode:
- Standard stabilization: Best for gentle riding and touring. Preserves the natural feel of the road.
- High or boost mode: Aggressive smoothing for bumpy roads and fast riding. Crops the frame slightly, so shoot a bit wider to compensate.
- Horizon lock: Keeps the horizon level through corners and leans. Ideal for cinematic footage but can look unnatural for raw riding documentation.
Avoid stacking multiple stabilization systems (in-camera plus editing software) unless you know they work together—over-processing can create a “floating” look.
Step 3: Dial In Frame Rate and Resolution
Frame rate and resolution choices directly affect smoothness:
- 4K at 30fps: The default for most riders. Sharp footage and manageable file sizes.
- 4K or 2.7K at 60fps: Smoother motion, better for fast riding and slow-motion editing. Requires more storage and battery.
- 1080p at 60fps or 120fps: Lightweight option for longer rides and slow-motion effects.
- Avoid 24fps for action: It looks cinematic but exaggerates judder during fast movement.
Higher frame rates smooth out vibration perceptually, so if your footage still looks shaky, try bumping to 60fps before changing mounts.
Step 4: Control Shutter Speed and Exposure
This is where many riders lose smoothness. If the shutter speed is too fast in bright light, motion looks harsh and jittery. Cinematic smoothness comes from a slower shutter—roughly double your frame rate. At 30fps, aim for a 1/60s shutter; at 60fps, aim for 1/120s.
Many motorcycle action cameras handle this automatically, but you can enable ND filters to reduce light and let the camera use slower shutter speeds in daylight. ND filters are one of the most underrated accessories for smooth, natural-looking footage.
Also lock exposure when possible. Auto-exposure shifting as you ride through shade and sunlight causes flicker and distraction. Set exposure for the brightest part of your ride and let shadows fall where they may.
Step 5: Reduce Wind Noise and Audio Issues
Smooth video pairs with clean audio—or no audio at all. Wind noise dominates at speed, and most built-in microphones struggle. Options include:
- Foam or furry windslayer over the mic
- External mic with a deadcat for voice commentary
- Record audio separately and sync in editing for the cleanest result
If audio quality is poor, consider muting ride audio and adding music or engine-sound recordings in post.
Step 6: Optimize Battery and Storage
Long rides demand preparation. Use high-endurance memory cards rated for continuous 4K recording, and carry spare batteries or a power bank. Disable unnecessary features like Wi-Fi when not transferring files, and lower screen brightness to extend battery life. Loop recording is useful for commuting, but for scenic rides, record in longer clips and manage storage deliberately.
Step 7: Post-Production Smoothing
Even well-shot footage benefits from light editing. Use stabilization in your editing software only if in-camera stabilization was insufficient, and apply gentle rolling-shutter correction if needed. Keep crops minimal to preserve resolution.
Final Thoughts
Smooth motorcycle video is not about buying the most expensive camera—it’s about setup. Choose stable mounting points, use vibration dampers, enable the right stabilization mode, shoot at 60fps when possible, control shutter speed with ND filters, and lock exposure. Modern motorcycle action cameras give you powerful tools; the skill lies in configuring them for the road. Set up once, test on a short ride, review the footage, and adjust. Soon your ride videos will look as smooth as the roads you love.