
Opening a Bakery? Your Custom Bakery Boxes with Logo Guide
Opening a bakery means a long list of decisions: the menu, the equipment, the location, the staff. Packaging often gets left until the last week, and that is a mistake. Your first boxes are the first thing many customers will carry out of your door. Choosing custom bakery boxes with logo early helps you look established from day one and avoids a rush when the opening date gets close.
Why Packaging Should Be Part of Your Launch Plan
New bakeries compete with shops that already have loyal customers. Branded packaging helps you close that gap:
- It looks professional. A clean box suggests experience and care.
- It markets for you. Every box leaving the shop is seen by friends, coworkers, and neighbors.
- It supports your prices. Good presentation makes customers more comfortable paying for quality.
- It builds a habit. People recognize your colors and come back.
Step 1: List Everything You Will Sell
Write down each product and how it will be sold:
| Product | Typical packaging need |
|---|---|
| Cakes | Tall, sturdy box with a firm base |
| Cupcakes | Box with inserts |
| Cookies and brownies | Shallow box, grease protection |
| Donuts and pastries | Window box with a lining |
| Gift sets and hampers | Rigid box with a lid |
This list shows how many sizes you really need. Most new bakeries start with three or four.
Step 2: Measure and Choose Sizes
Measure each finished product, including toppings and decorations, then add a small allowance. Fewer sizes make ordering and storage easier, and they let you buy larger quantities at a lower price per box.
Step 3: Pick Materials and Finishes
- Kraft is natural, affordable, and popular with artisan bakeries.
- Cardboard works well for everyday sales.
- Corrugated handles delivery and heavier items.
- Rigid suits premium gifts.
Keep finishes simple at the start. A one- or two-color logo, plus a window where helpful, gives you a polished look without a high cost. Always confirm that the materials and coatings are food safe.
Step 4: Design a Logo Layout That Works
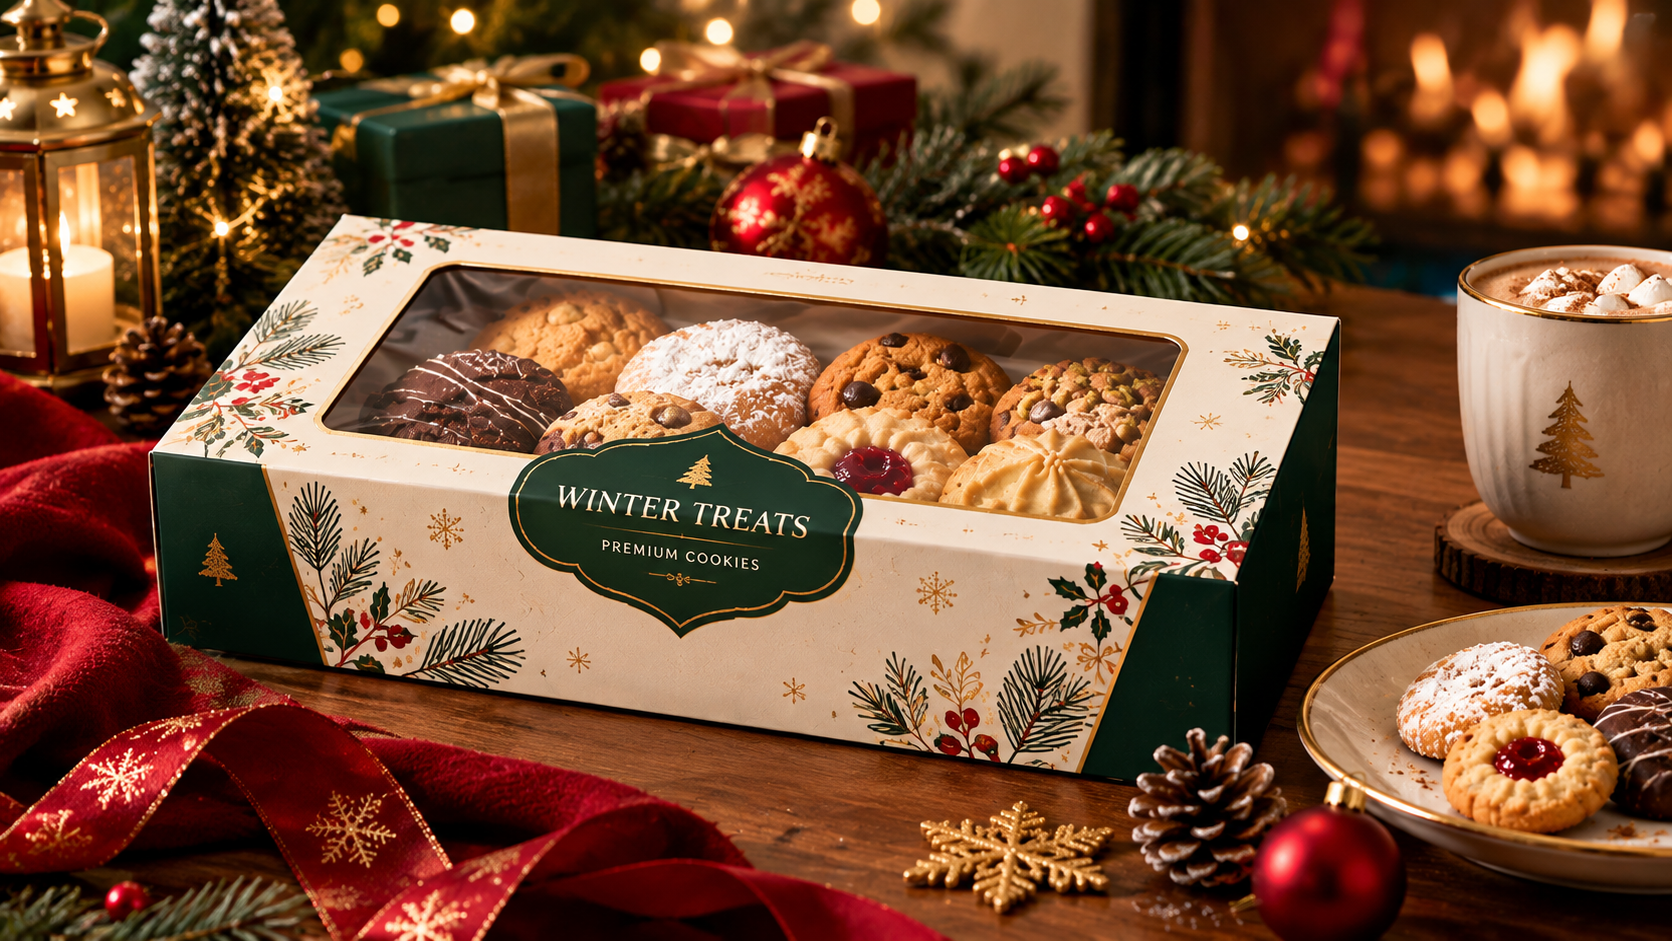
Your logo is the star, so let it breathe. Place it on the lid, use your main brand colors, and keep the layout uncluttered. Good bakery packaging with logo also uses the inside of the lid for a thank-you message or QR code to your social page, which costs little and builds a connection.
Step 5: Order the Right Amount
New businesses often order too many or too few. A practical approach:
- Estimate daily sales for each product type.
- Multiply by the number of days between orders, then add a safety buffer.
- Start with a smaller first run so you can adjust the design.
- Keep a stock of plain boxes as a backup for the first week.
Once sales settle, move to larger runs of your best sellers in custom printed bakery boxes, where the price per box drops.
Step 6: Plan the Timeline
Allow time for design, a sample, printing, and delivery. A safe schedule is to start six to eight weeks before opening. That gives you room to fix mistakes without delaying your launch.
Opening-Day Packaging Checklist
- Boxes counted, checked, and stored flat in a dry place
- One real product tested in each size
- Stickers or tape ready for sealing
- Spare boxes for last-minute orders
- Your logo, address, and social handle clearly printed
Final Thoughts
You cannot rebuild your first impression, so make it a good one. Pick a small set of sizes, keep the design clean, and order early. With the right packaging ready on opening day, you can focus on what matters most: baking and welcoming your first customers.