

The week before a trip decides whether a rental feels easy or stressful. If you have booked a Starlink rental Los Angeles for a getaway, a shoot or a work stretch, the dish is the simple part. What matters is the order you do things in: when you check your spot, when you collect the kit, when you test it and when you pack the extras. This guide gives you a seven-day countdown, so nothing is left to the last evening, and you leave town knowing the connection works.
Seven days before: confirm the basics
Start with the company. BorrowStarlink’s site has a Local Pick-up page and a Delivered page, but it doesn’t say where pick-up happens or whether delivery reaches Los Angeles. Ask directly, and get the answers in writing:
- Is a kit available for my dates?
- How does pick-up or delivery work for my address?
- What is the total cost, including any deposit and delivery charges?
- What are the late return and damage terms?
- Who do I contact if something doesn’t work?
The site doesn’t publish prices or deposit terms, so don’t guess.
Six days before: check where you are going
Look at the place before you pack for it. Ask the host or venue whether a temporary dish outdoors is allowed, where it can sit and whether there is an outdoor outlet. Look at satellite maps for open ground, and think about trees, rooflines and hills. Starlink works anywhere the dish can see the sky, so open sky matters more than how remote the place is.
Five days before: plan your power
The dish averages about 60 watts. A standard 110v outlet works, and so do an RV system, a houseboat, a generator or a small 100W solar panel. Decide where power comes from, and check that it will last. If you use a generator, find out whether local fire rules allow it where you are going, and plan to run it outdoors only. If it isn’t allowed, choose a battery or solar instead.
Four days before: shop for the extras
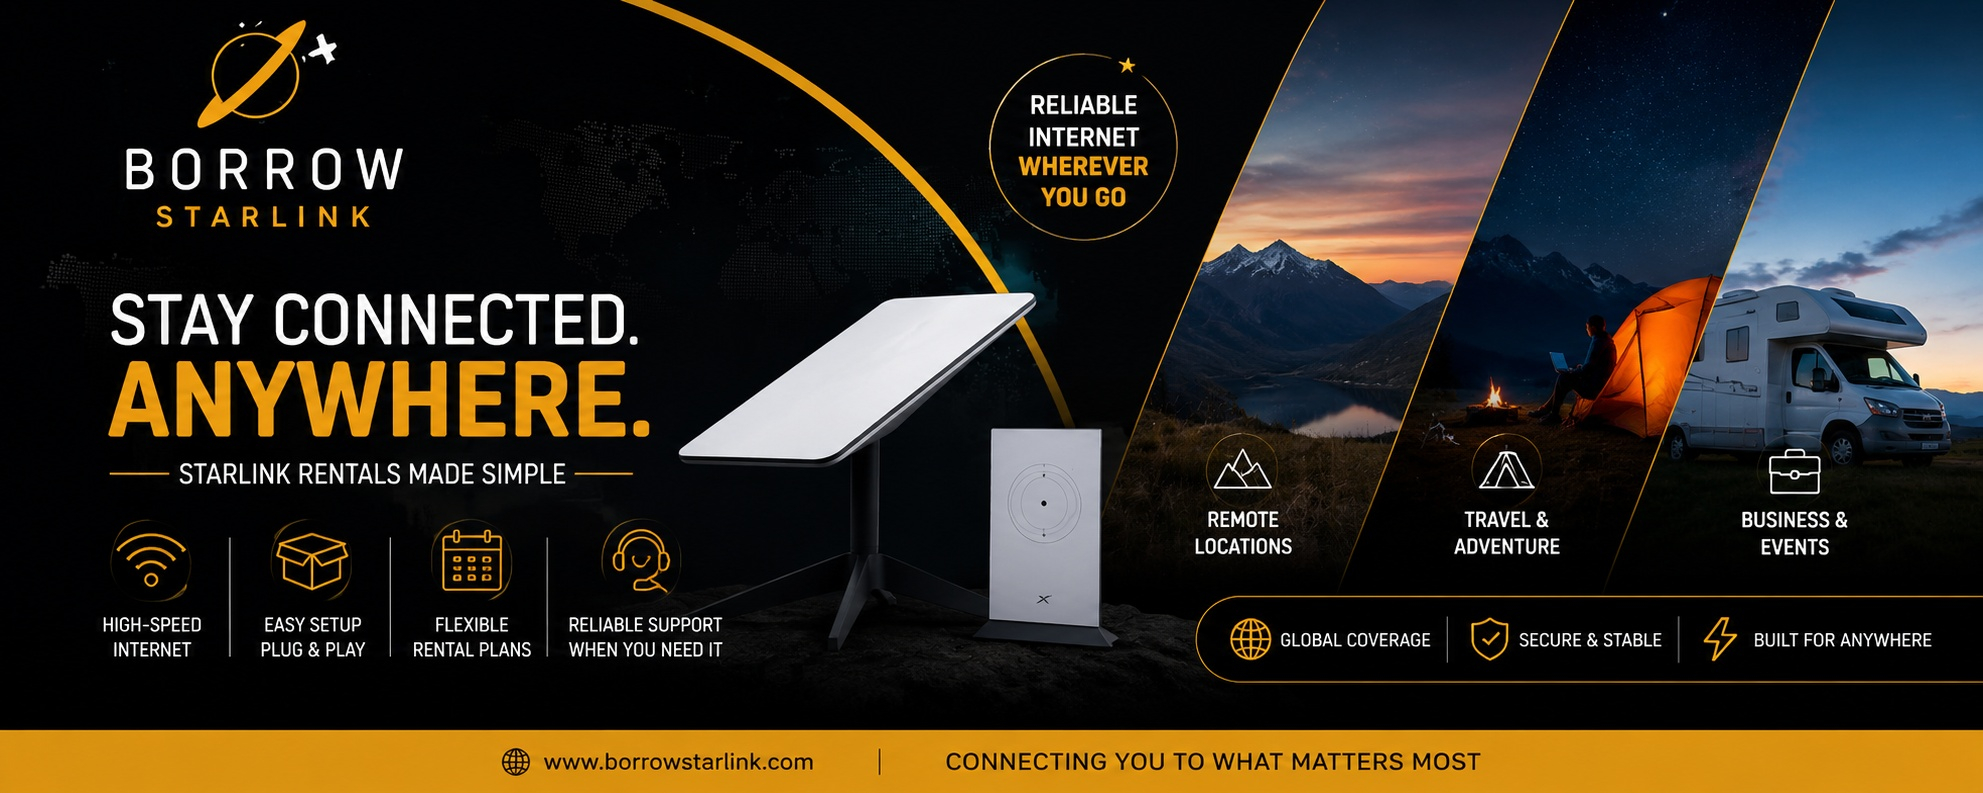
The rental covers the main equipment. BorrowStarlink lists these items with each rental:
- The Starlink dish
- A Wi-Fi router that connects multiple devices
- A custom hard case
- Unlimited data, already configured
The company handles the accounts, subscription and equipment setup, so you don’t need a Starlink account. What you pack yourself:
- A long, outdoor-rated extension cord
- A power strip
- Something to weigh down the stand
- Cable ties or tape
- A microfiber cloth for dust
- A waterproof bag for the router and cables
The site doesn’t say whether a stand or mount comes with the kit, so ask rather than assume.
Three days before: collect the kit
Aim to have the kit at least two days early. When you receive it, open the case and check everything.
- Compare the contents with the list you were given.
- Look over the dish and router for cracks or loose parts.
- Take photos of everything before first use.
- Confirm the return deadline and method.
Photos matter. If a deposit is involved, they protect you if there is ever a question about damage.
Two days before: test it
This is the most important day of the week.
- Find a spot outdoors with a wide, open view of the sky.
- Place the dish on a stable surface and secure it.
- Connect the cables and plug in the power.
- Wait a few minutes while the dish finds its position.
- Join the Wi-Fi network and run a video call of at least fifteen minutes.
Install the Starlink app on your phone and open it once. It shows obstructions and helps you troubleshoot, and it is hard to download once you are out of cell range. The Set-up Guide on BorrowStarlink’s site walks you through the first connection. If something is wrong, you still have time to contact the company and fix it.
One day before: pack with care
Pack the kit in its hard case, flat and protected, where it won’t be crushed. Don’t put it in a hot trunk for hours. Coil cables loosely, since tight bends wear them out. Save the company’s contact details in your phone, and download maps, files and documents for offline use.
Travel day: protect the kit
- Keep the case out of direct sun and hot, parked cars.
- Keep it dry.
- Don’t leave it unattended.
Arrival day: set up without rushing
Before you unpack the dish, stand where you plan to place it and look straight up. If you see plenty of open sky, you are in good shape. If part of the view is covered, move a few steps and check again. Weigh down the stand, since wind can tip it over, and keep the dish away from walkways. Put the router somewhere central and dry.
Keep expectations realistic
Starlink handles calls, streaming, cloud work and uploads in places where other options fail. It has limits. Heavy rain can slow the connection, a partly blocked view causes dropouts and speeds vary by location and time of day, so treat advertised numbers as best-case figures. One connection is shared by every device on it, so agree on simple habits: calls first, streaming later and big downloads before the trip.
A dish is not a safety device
It needs power and open sky, so it may not be available when you need it most. Keep your usual safety plan for remote trips: tell someone your route and return time, check road and weather conditions and carry the supplies your trip calls for. Keep your phone hotspot as a backup for short messages.
Return day: finish properly
Don’t let the return become the weak link.
- Turn off the power and let the equipment cool.
- Wipe dust and moisture off the dish, cables and router.
- Pack everything in the hard case the way it arrived.
- Compare it with your arrival photos.
- Return it on time, and keep any tracking information.
Where the kits can be used
BorrowStarlink says its kits are designated for North America, including Canada and Mexico, and that it supports international travel, so customers should contact the company to learn more.
For events and businesses
If you are renting for an event or a team, look at the Enterprise page on BorrowStarlink’s site, and ask the company what it recommends.
The seven-day checklist
- Day 7: company contacted, terms in writing
- Day 6: host and outlet checked
- Day 5: power plan and fire rules checked
- Day 4: extras bought
- Day 3: kit collected, checked and photographed
- Day 2: kit tested with a real video call, app installed
- Day 1: kit packed, company contact saved
- Return: kit cleaned, packed and sent back on time
Final thoughts
A Starlink rental Los Angeles goes smoothly when the week before is planned. Confirm the details early, check the spot and the power, test the kit two days out and pack it carefully. Do that, and the connection is one less thing to think about once you arrive.
If you want to look at options, BorrowStarlink offers short and long term rentals with the dish, router, hard case and unlimited data included. Check the Local Pick-up, Delivered and Enterprise pages on its site, then contact the company to confirm availability for your dates.