

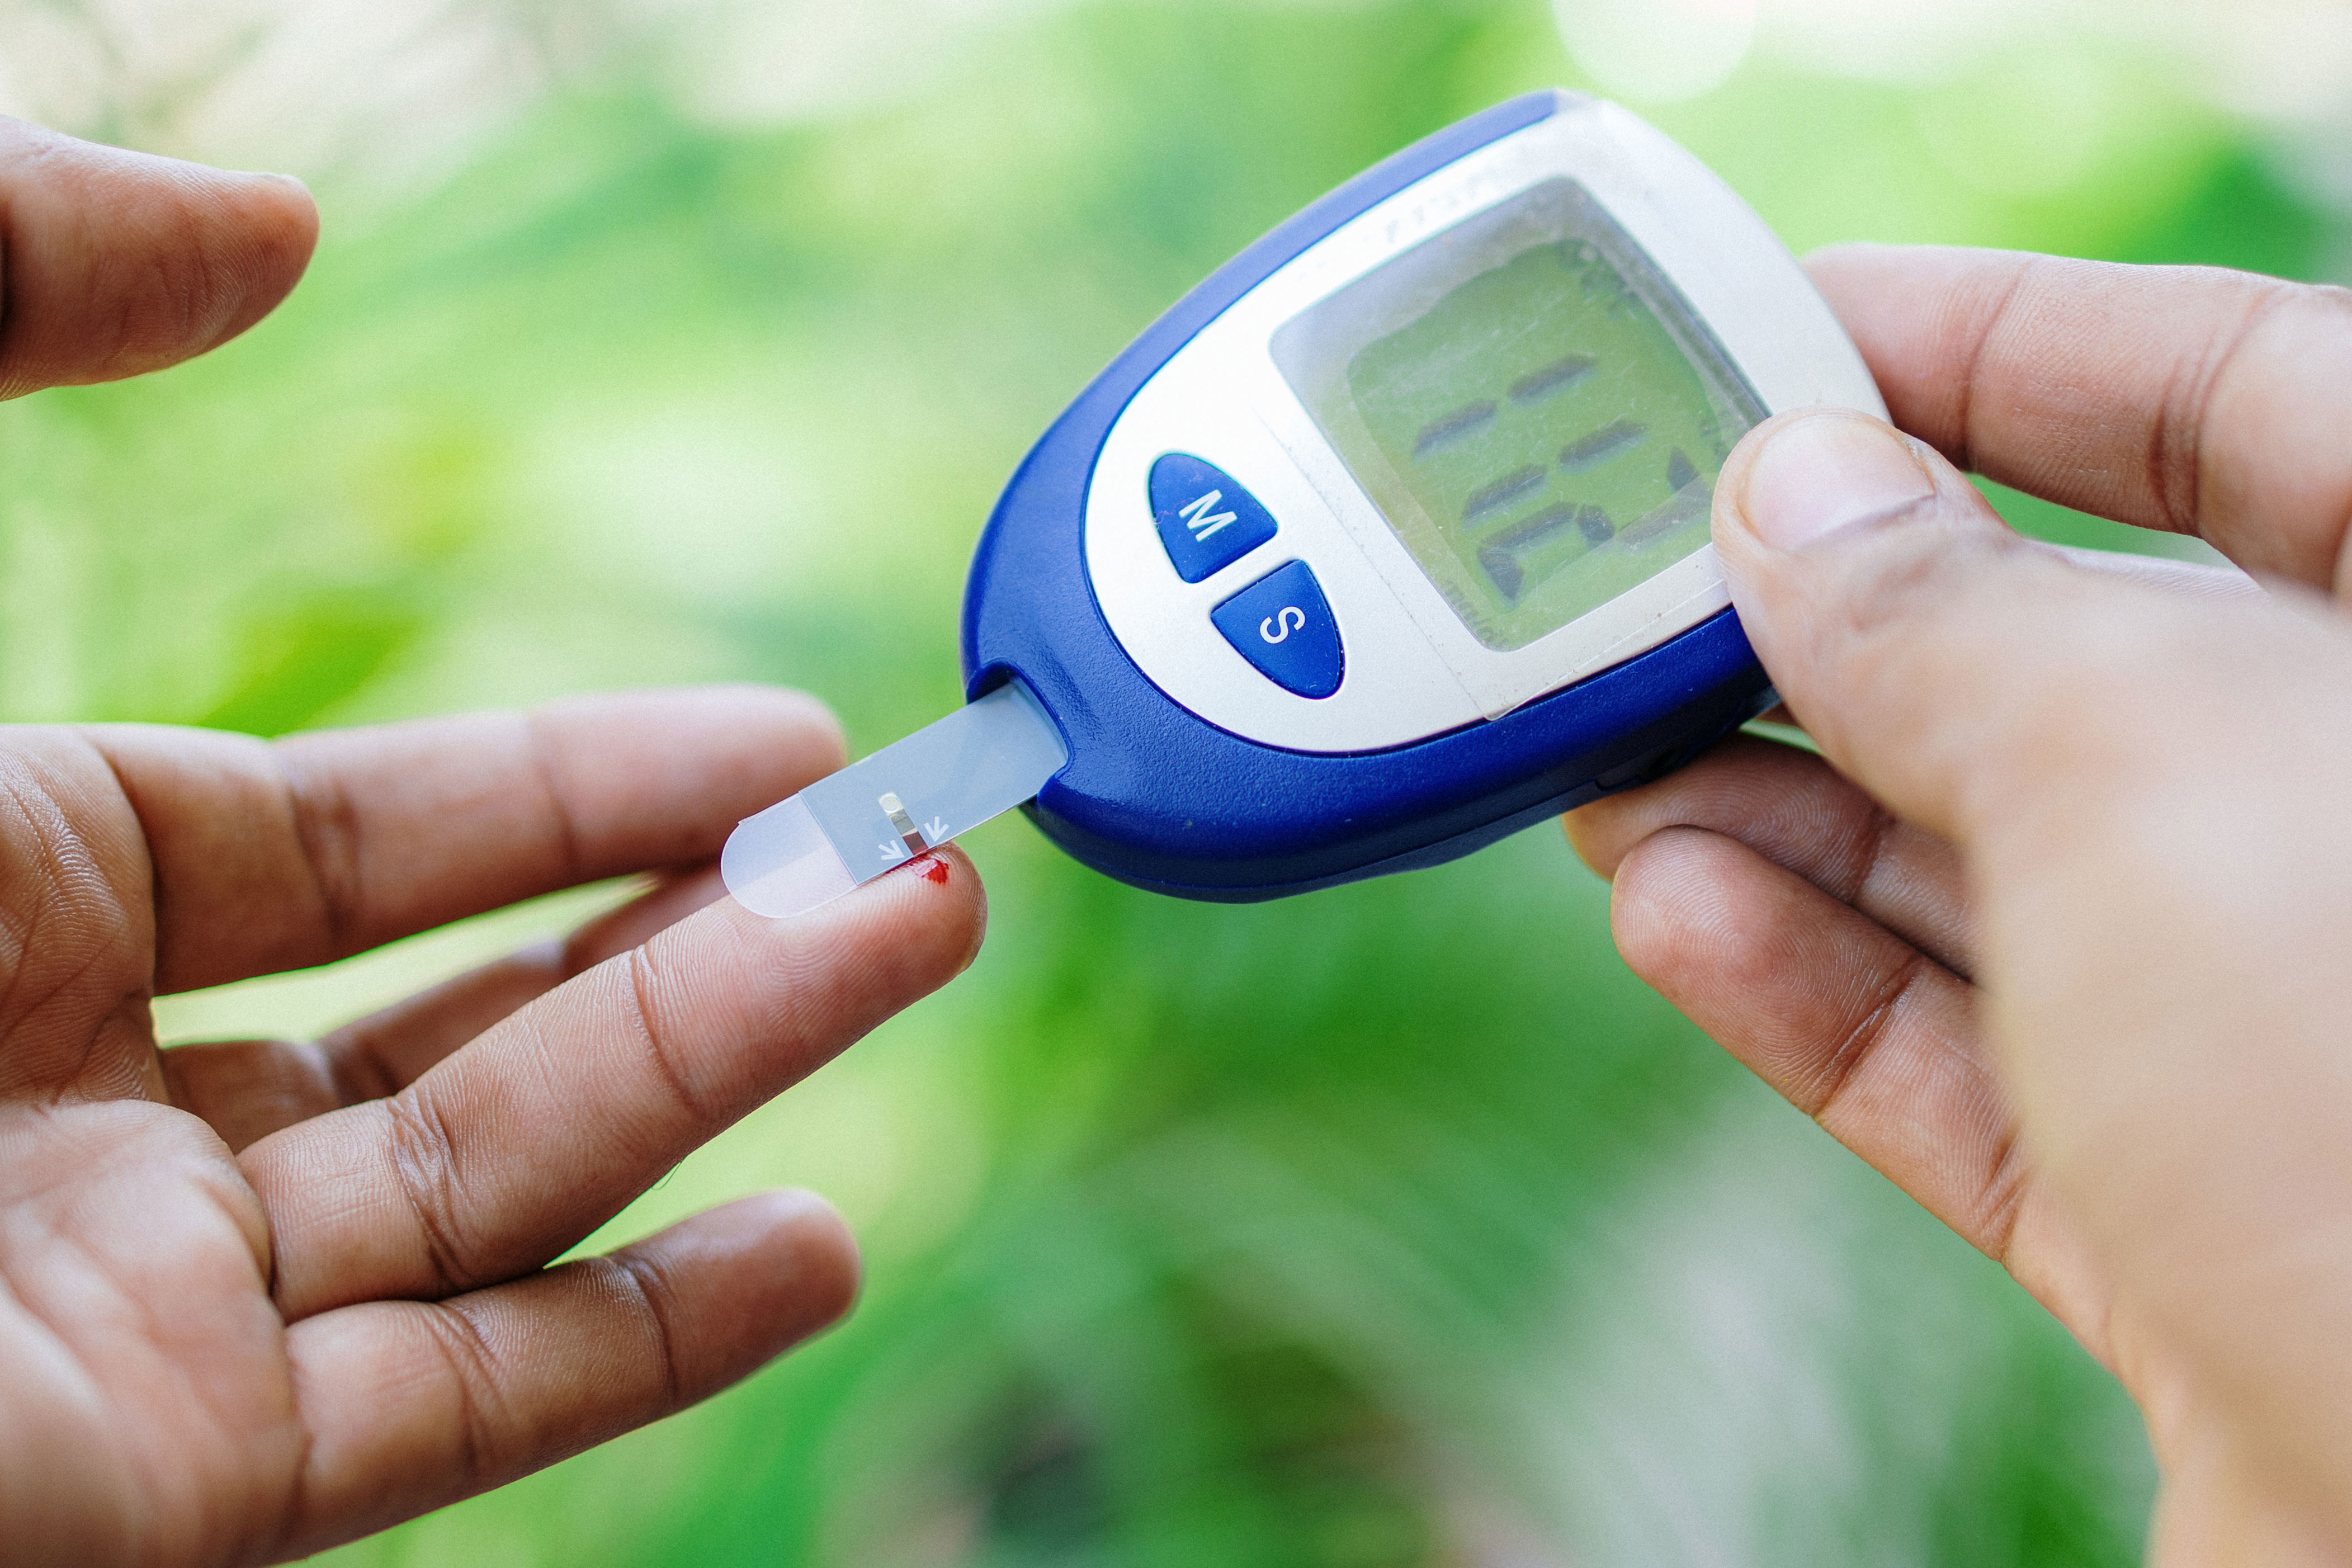

Monitoring blood sugar at home can be an important part of maintaining good health, especially for people living with diabetes, prediabetes, or conditions that affect glucose regulation. Although checking blood glucose may seem complicated at first, the process is relatively simple once you understand the equipment, preparation, and correct testing technique.
A home Blood Sugar Test Dubai allows you to measure glucose levels using a small drop of blood, usually collected from your fingertip. The results help you understand how your body responds to meals, physical activity, medication, stress, and everyday lifestyle habits.
For beginners, knowing how to use a blood glucose meter correctly is essential. Incorrect testing techniques, expired test strips, or contaminated fingers can produce misleading readings.
This guide explains how to check blood sugar at home step by step, how to understand your readings, when to test, and what precautions can help you obtain reliable results.
What Is a Home Blood Sugar Test and Why Is It Useful?
A home blood sugar test measures the amount of glucose present in your bloodstream using a portable device called a blood glucose meter or glucometer.
The meter works with a disposable test strip that analyzes a small blood sample and displays the glucose reading, usually within a few seconds.
Home glucose monitoring is particularly useful for:
-
People diagnosed with type 1 or type 2 diabetes.
-
Individuals taking insulin or medications that can cause low blood sugar.
-
People with gestational diabetes who need regular glucose monitoring.
-
Individuals experiencing episodes of hypoglycemia or hyperglycemia.
-
Patients whose healthcare providers recommend monitoring glucose changes.
Regular blood glucose monitoring can help identify patterns that may otherwise go unnoticed. For example, you may discover that your glucose levels rise after certain meals or decrease following physical activity.
However, a home glucose meter does not independently diagnose diabetes. Laboratory testing and professional medical evaluation are required for diagnosis.
What Equipment Do You Need Before Checking Blood Sugar?
Before performing your first home glucose test, gather all the necessary supplies.
<text weight="medium">Essential blood glucose testing supplies</text>
<AsyncImageGroup query={["digital blood glucose meter with display and test strip","diabetes glucose testing lancet lancing device","blood glucose test strips container","diabetes home glucose testing kit supplies"]} aspectRatio="5:4" layout="bento"/>
1. Blood glucose meter: This electronic device measures and displays your blood sugar level.
2. Test strips: These disposable strips collect the blood sample and work with your specific glucose meter. Make sure they are compatible with your device.
3. Lancing device: This small instrument holds a lancet and helps you obtain a blood sample.
4. Lancets: These are small, sterile needles used to prick the skin.
5. Soap and water: Clean hands help prevent contamination that could affect the result.
6. Sharps disposal container: Use an appropriate puncture-resistant container to dispose of used lancets safely.
Check the meter's instructions before using it because different brands may have slightly different testing procedures.
How to Check Blood Sugar at Home: Follow These 8 Steps
The following process explains how beginners can perform a fingertip blood glucose test safely and correctly.
Step 1: Wash and Dry Your Hands
Begin by washing your hands with soap and warm water.
Dry them completely before testing. Even small amounts of food residue, sugar, or moisture on your fingertips can interfere with glucose measurements.
For example, touching fruit or sugary food before testing may leave glucose on your skin and produce an unexpectedly high reading.
If soap and water are unavailable, follow your meter manufacturer's instructions for cleaning your hands.
Step 2: Prepare Your Glucose Meter
Place your blood glucose meter on a clean, flat surface.
Check that the device has sufficient battery power and is functioning properly.
Some glucose meters require coding or additional setup, while many modern devices automatically recognize compatible test strips.
Refer to the manufacturer's instructions before starting.
Step 3: Insert a New Test Strip
Remove one test strip from its container and insert it into the meter in the correct direction.
Most meters turn on automatically when a strip is inserted.
Wait until the device displays a symbol indicating that it is ready for a blood sample.
Keep unused strips protected from moisture, heat, and direct sunlight. Always close the container immediately after removing a strip.
Step 4: Load the Lancet Into the Lancing Device
Prepare your lancing device by inserting a new sterile lancet.
Remove the protective lancet cover according to the manufacturer's instructions.
Adjust the penetration depth if your device offers this feature. Beginners may prefer starting with a lower setting and increasing it only if necessary to obtain an adequate sample.
Never share lancets or lancing devices with another person, even if the lancet is replaced.
Step 5: Choose the Correct Finger
The sides of your fingertip are generally preferred because they may be less sensitive than the center.
Use different fingers or alternate testing sites to reduce soreness.
Avoid areas with cuts, swelling, or infection.
If your meter allows alternative testing sites, remember that glucose readings from the forearm or palm may differ from fingertip readings, particularly when glucose is changing rapidly.
Step 6: Obtain a Small Blood Sample
Place the lancing device against the side of your fingertip and activate it.
A small drop of blood should appear.
If necessary, gently massage your finger toward the fingertip. Avoid forcefully squeezing because excessive pressure can affect the sample.
Follow your meter instructions regarding whether the first drop should be used or wiped away.
Step 7: Apply Blood to the Test Strip
Bring the edge of the test strip into contact with the blood drop.
Most modern strips automatically draw the required amount of blood into a small testing area.
Wait for the meter to analyze the sample.
If the device displays an error or insufficient blood message, follow its instructions and repeat the test with a new strip and lancet.
Step 8: Read and Record Your Result
After a few seconds, the glucose meter will display your blood sugar reading.
The result is usually shown in mg/dL or mmol/L.
Record the reading along with the date, time, and testing circumstances.
For example, note whether you checked your glucose before breakfast, two hours after a meal, or before bedtime.
Keeping a blood glucose log makes it easier for your healthcare provider to identify patterns and adjust your treatment plan when necessary.
When Is the Best Time to Check Blood Sugar at Home?
The ideal testing schedule depends on your medical condition, treatment, and healthcare provider's recommendations.
Some common testing times include:
| Testing time | What it helps monitor |
|---|---|
| Before breakfast | Fasting blood glucose |
| Before meals | Glucose level before eating |
| 1–2 hours after meals | Response to food |
| Before bedtime | Evening glucose levels |
| Before and after exercise | Changes related to physical activity |
| When symptoms occur | Possible high or low blood sugar |
People with type 1 diabetes, those using insulin, and some individuals with type 2 diabetes may need more frequent testing.
Others may not require daily finger-prick monitoring.
Your doctor can recommend a schedule based on your medication, glucose control, and risk of hypoglycemia.
How to Understand Your Home Blood Sugar Test Results
Knowing what your glucose meter displays is just as important as performing the test correctly.
For many nonpregnant adults with diabetes, commonly used blood glucose targets are:
| Testing time | Common target |
|---|---|
| Before meals | 80–130 mg/dL |
| 1–2 hours after starting a meal | Below 180 mg/dL |
These are general treatment targets used for many adults with diabetes, not universal diagnostic ranges. Individual targets may differ according to age, pregnancy, other medical conditions, and treatment goals.
For people without diabetes, laboratory diagnostic criteria are different.
For example, a fasting plasma glucose result of 100–125 mg/dL falls within the prediabetes range, while 126 mg/dL or higher is in the diabetes range and generally requires confirmation.
Remember that home glucose meters are designed primarily for monitoring rather than diagnosing diabetes.
What Should You Do If Your Blood Sugar Is Too High or Too Low?
Recognizing abnormal glucose readings can help you respond appropriately.
When Blood Sugar Is Too High
High blood sugar, also called hyperglycemia, may cause:
-
Increased thirst.
-
Frequent urination.
-
Blurred vision.
-
Fatigue.
-
Headaches.
If your reading is unexpectedly high, wash and dry your hands and repeat the measurement using a fresh strip if appropriate.
Follow your prescribed diabetes management plan and contact your healthcare provider if high readings persist.
Seek emergency medical attention if high blood sugar occurs with vomiting, abdominal pain, fruity-smelling breath, deep or rapid breathing, or confusion. These symptoms may indicate diabetic ketoacidosis.
When Blood Sugar Is Too Low
A glucose level below 70 mg/dL is generally considered low for people with diabetes.
Common symptoms include sweating, trembling, hunger, dizziness, and difficulty concentrating.
If you are conscious and able to swallow safely, the commonly recommended approach is the 15-15 rule:
-
Consume 15 grams of fast-acting carbohydrates.
-
Wait 15 minutes.
-
Check your blood sugar again.
-
Repeat if the level remains below 70 mg/dL.
Severe hypoglycemia can cause seizures or unconsciousness. Never give food or drinks to someone who cannot swallow safely. Use prescribed glucagon if available and seek emergency medical assistance.
Common Home Blood Glucose Testing Mistakes to Avoid:
Even a simple glucose test can produce misleading results if performed incorrectly.
Watch out for these common mistakes:
-
Testing without washing your hands.
-
Using expired or damaged test strips.
-
Applying too little blood to the strip.
-
Using the same lancet repeatedly.
-
Sharing testing equipment with another person.
-
Storing test strips in humid or excessively hot conditions.
-
Testing alternative sites during rapidly changing glucose levels.
-
Forgetting to record readings and testing times.
Regularly check your glucose meter according to the manufacturer's recommendations. If readings do not match your symptoms or seem unusually different from previous results, repeat the test and contact your healthcare provider.
Is a Home Blood Sugar Meter Better Than a Continuous Glucose Monitor?
Both devices help monitor blood glucose, but they work differently.
A traditional glucometer measures glucose in a small blood sample obtained through a finger prick.
A continuous glucose monitor (CGM) uses a small sensor placed under the skin to measure glucose in the fluid surrounding cells. It provides readings throughout the day and can display glucose trends and alerts.
A glucometer is generally less expensive and useful for occasional or scheduled checks.
A CGM provides more continuous information and may be particularly helpful for people who need frequent monitoring or experience glucose fluctuations.
The best option depends on your medical needs, treatment plan, preferences, and healthcare provider's recommendations.
Frequently Asked Questions:
1. Can I check my blood sugar at home without a doctor?
Yes. You can use an over-the-counter blood glucose meter to monitor your glucose levels. However, a healthcare professional should evaluate your results, especially if you suspect diabetes.
2. Which finger is best for checking blood sugar?
The sides of the middle or ring fingers are commonly used because they may be less sensitive than the center of the fingertip.
3. How often should beginners check blood sugar?
Testing frequency depends on your health condition and treatment. People using insulin may need several checks daily, while others may need less frequent monitoring.
4. Can I check blood sugar without pricking my finger?
Continuous glucose monitors can measure glucose trends without routine finger-prick testing. However, occasional finger-stick confirmation may still be necessary according to device instructions.
5. What is a normal blood sugar level in the morning?
For people without diabetes, a fasting laboratory blood glucose level of 99 mg/dL or below is generally considered normal. Individual treatment targets for people with diabetes may differ.
6. Are home blood sugar meters accurate?
Modern glucose meters are useful for daily monitoring, but their readings can vary slightly from laboratory measurements. Correct technique, proper storage, and compatible test strips help improve reliability.
Final Thoughts: Make Home Blood Sugar Monitoring a Healthy Habit
Learning how to perform a blood sugar Lab tests at home can make diabetes management easier and help you understand how everyday activities affect glucose levels.
Start by choosing a reliable glucose meter, preparing the necessary supplies, and following the correct finger-prick testing technique. Record your results consistently and pay attention to patterns rather than focusing on individual readings alone.
Most importantly, use home blood glucose monitoring as part of a broader healthcare plan. Regular medical consultations, balanced nutrition, physical activity, and appropriate medication can all contribute to better glucose control.
With the right knowledge and consistent habits, even beginners can become more confident in monitoring their blood sugar and taking an active role in their long-term health.